Dialogs
About
Shows various information about Glaxnimate.
Credits
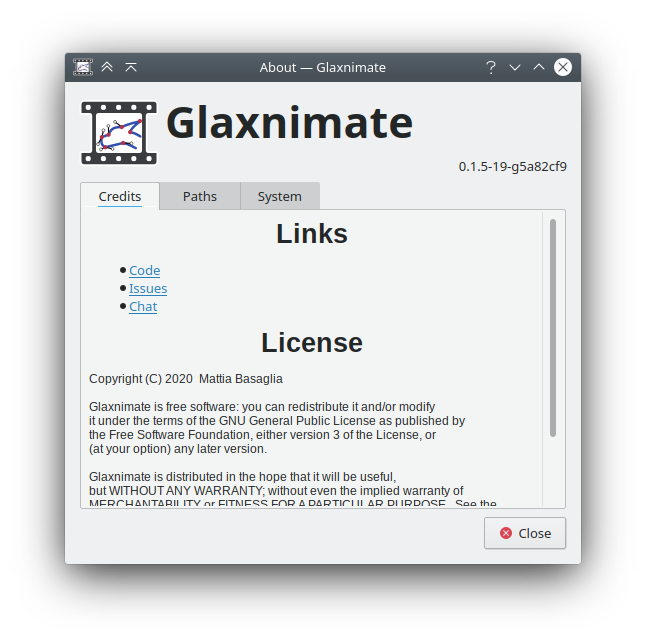
About dialog
General information and links.
Paths
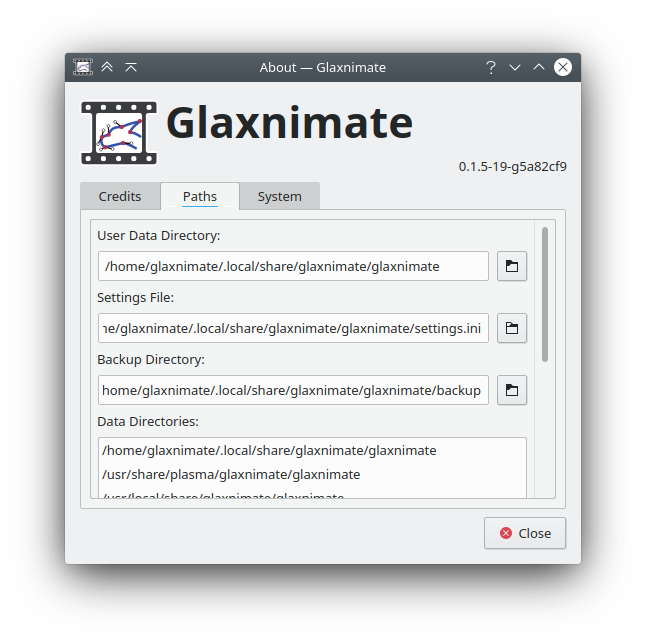
About dialog
Here you can see and open the settings file, and all paths where Glaxnimate looks for data.
System
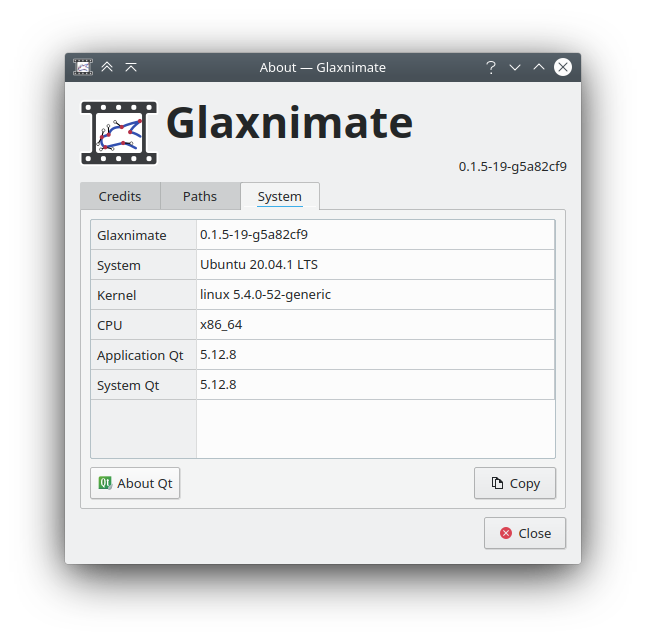
About dialog
Shows the system information. You can click on Copy to copy them to the clipboard.
Move To
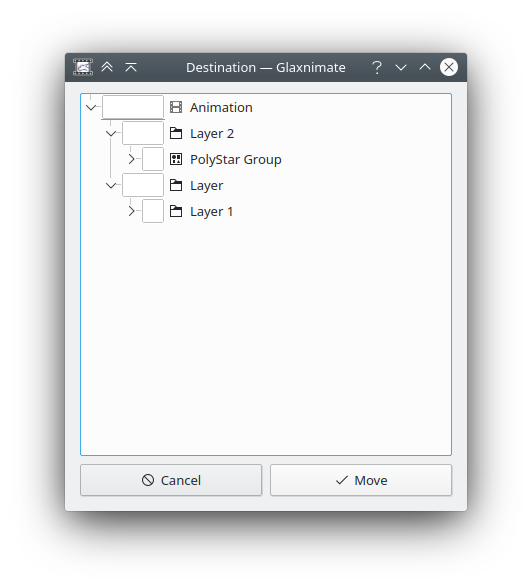
Move To dialog
Allows you to choose a destination to move the selected shapes.
Resize

Resize dialog
Allows to resize the animation and scale all layers.
Timing
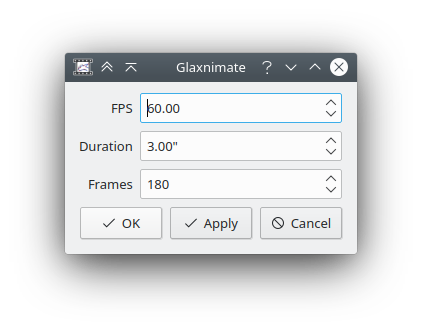
Timing dialog
Allows you to change framerate and duration.
Trace Bitmap
This dialog allows you to convert raster images (bitmaps) into vector paths.
Closest Color
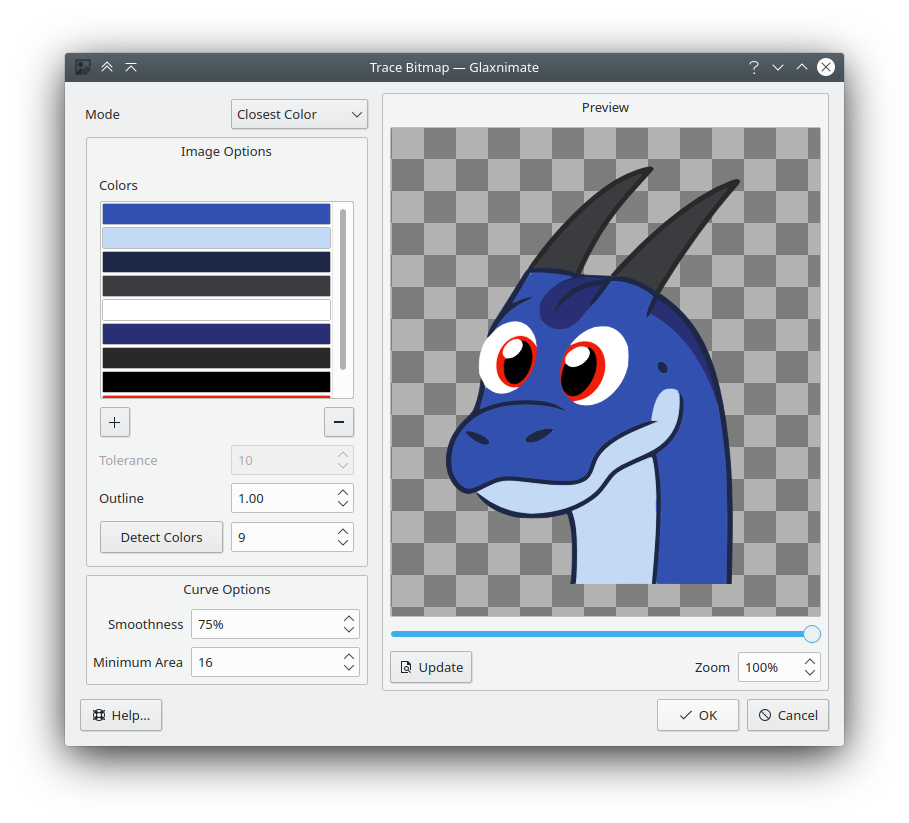
Trace dialog
In the Closest Color mode, you can select a set of colors and they will be used to determine how shapes are defined.
This algorithm works by using the color on the list that most closely matches the pixel values, and pixels with the same resulting color will end up in the same shape.
You can edit the list of colors by using the buttons to add or remove colors, then you can click on the list to change the color.
Alternatively, you can click on Detect Colors which will fill the list with the most common colors in the image (you select how many colors you want with the spin box next to the button.
Sometimes there might be gaps between shapes of different colors, you can increase Outline to fill them up. When you have large outlines, the order of the colors in the list is important (shapes higher up on the list are drawn over the ones below). You can drag and drop colors in the list to rearrange them.
Extract Colors

Trace dialog
This mode has the same image options as Closest Color but it will only use pixels that match the specified colors exactly.
The difference is more obvious when you have fewer colors; in the following example the two modes are operating on the same image with the same colors:
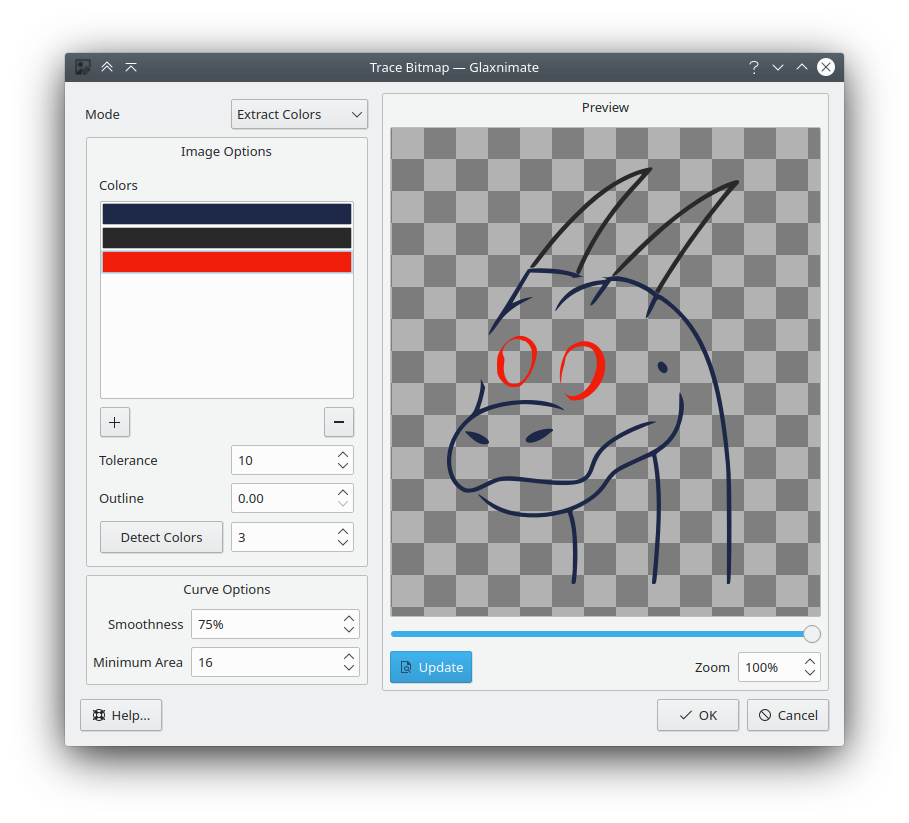
Trace dialog
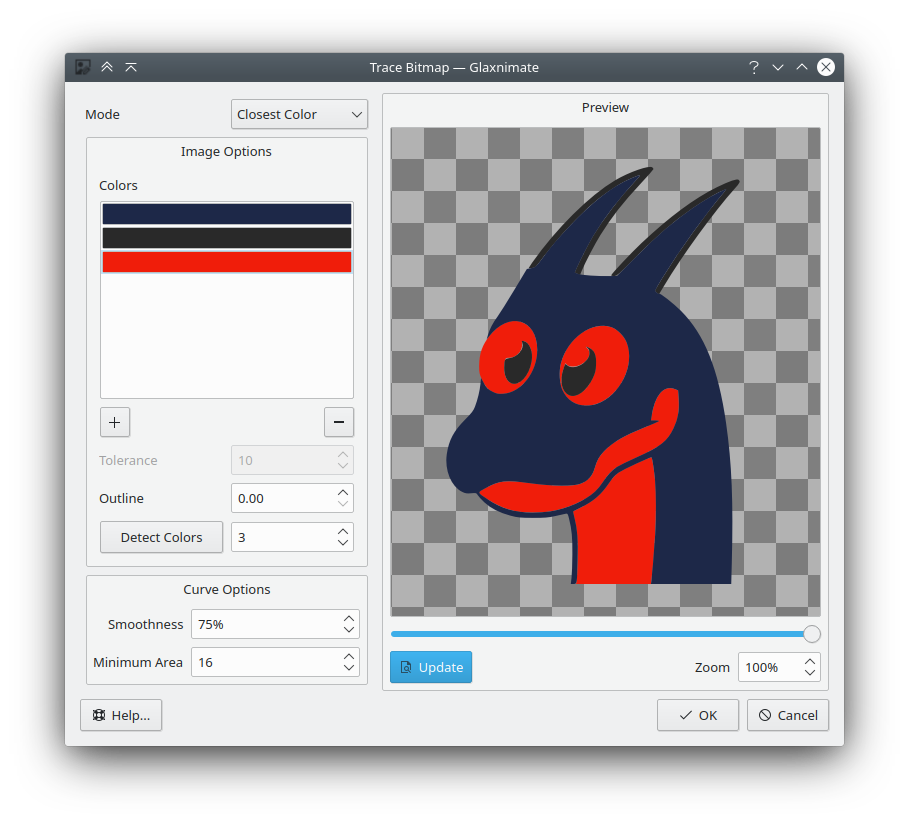
Trace dialog
As you can see, Extract Colors only used the parts of the image that had matching colors, resulting in fewer shapes being extracted; while Closest Color assigned the best available color for each area.
Generally, Closest Color is the best choice when you want to trace the whole image, Extract Colors when you only need specific elements.
Extract Colors has the option Tolerance, which determines how close the pixels have to be to the specified color.
Transparency

Trace dialog
This mode ignore colors and just looks at the transparency (Alpha channel) of the image.
It has the following options:
Output Color - This is the color of the shapes you get
Invert - Will generate the inverse image: shapes will occupy the transparent areas
Threshold - Alpha value below which a pixel is considered transparent
This mode is best suited for converting monochrome logos and the like.
Pixel
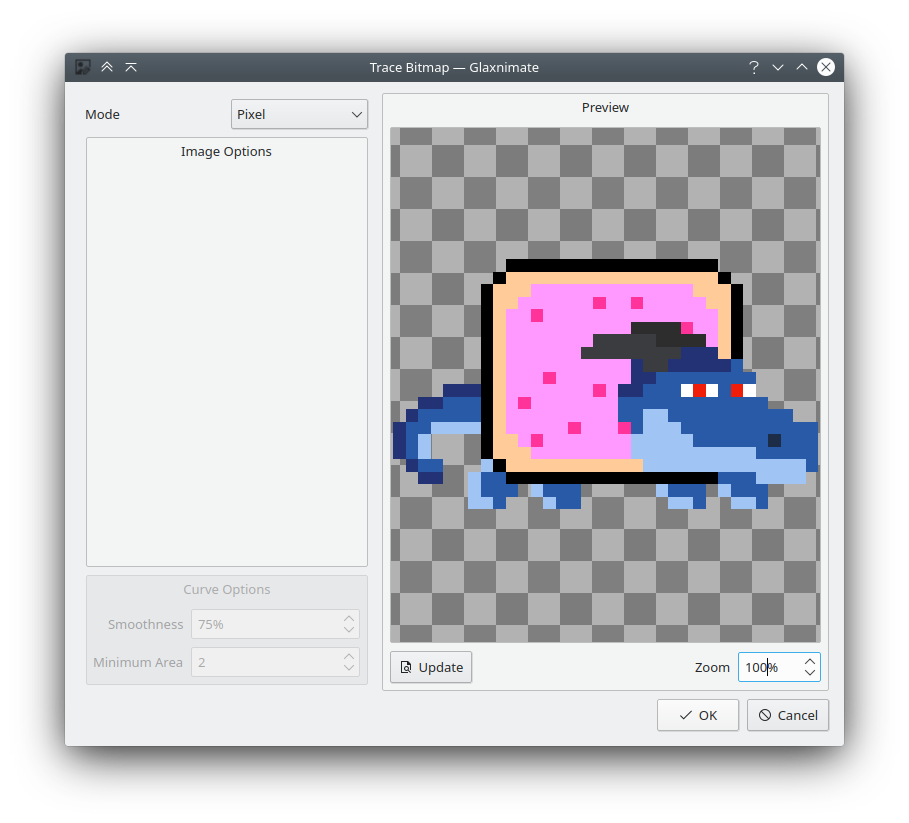
Trace dialog
This mode is designed for pixel art and is only available for small pictures.
It keeps the edges of every pixel intact and uses all colors from the source image.
With this mode there are no extra options.
Curve Options
These options affect the appearance of the output shapes
Smoothness - A value of 0% will create polygons, a value of 100% will avoid any sharp corners
Minimum Area - If a region with the same color doesn’t have more than these many pixels, it will be discarder. Useful to remove speckles.
Preview
The right half of the dialog shows a preview of the operation.
Since tracing might be slow, you need to press Update for the preview to be updated.
The slider below the preview area shows the tracing result side by side with the original image. The area to the left of the slider marker shows the trace result, while the area to the right shows the original image. By default the slider is all the way to the right, only revealing the trace result.
Emoji Selection
Glaxnimate support downloading and importing emoji as a form of vector assets.
All the supported sets have a free and open source license so you can use them in you animations as long as you respect their licensing terms.
Emoji Sets
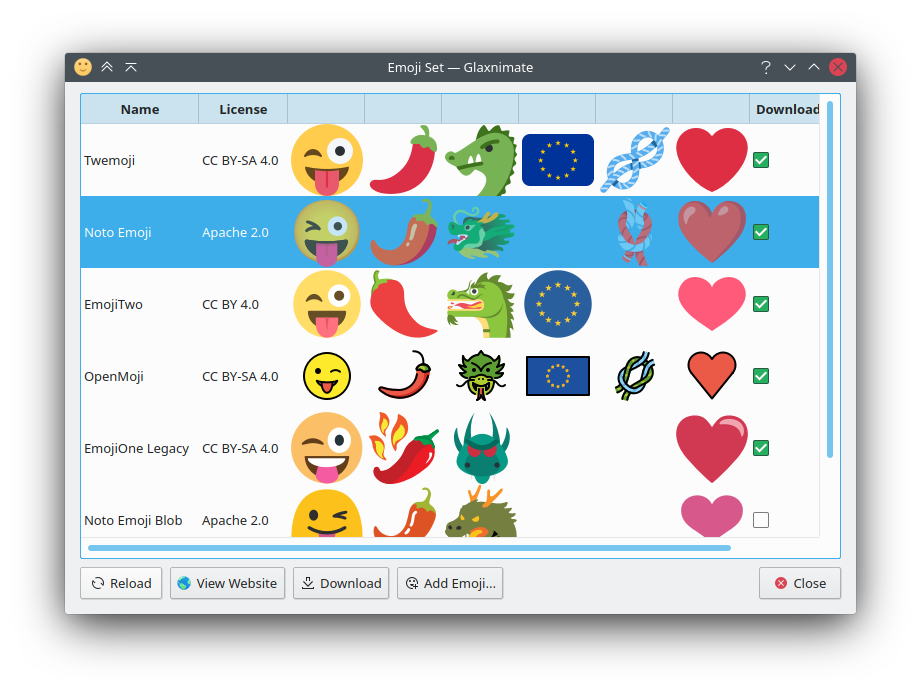
Emoji Set Dialog
Here you can manage the installed sets.
By default no emoji set is installed. To install them, you can select one and click download. The ones you already downloaded show a checkmark at the end.
On the list of available sets you see their name, license, a preview of some emoji, and the download status.
Note that not all sets support all emoji, and this is reflected on the previews.
Clicking Reload will update the list of available emoji based on the [emoji data file](/contributing/assets/#emoji-sets).
When you have a set selected, you can click on one of the following buttons:
View Website Will open the browser to the website of the selected set
Download Will download the set
Add Emoji.. Will show the emoji selection dialog to import emoji in your animation
Emoji Select Dialog
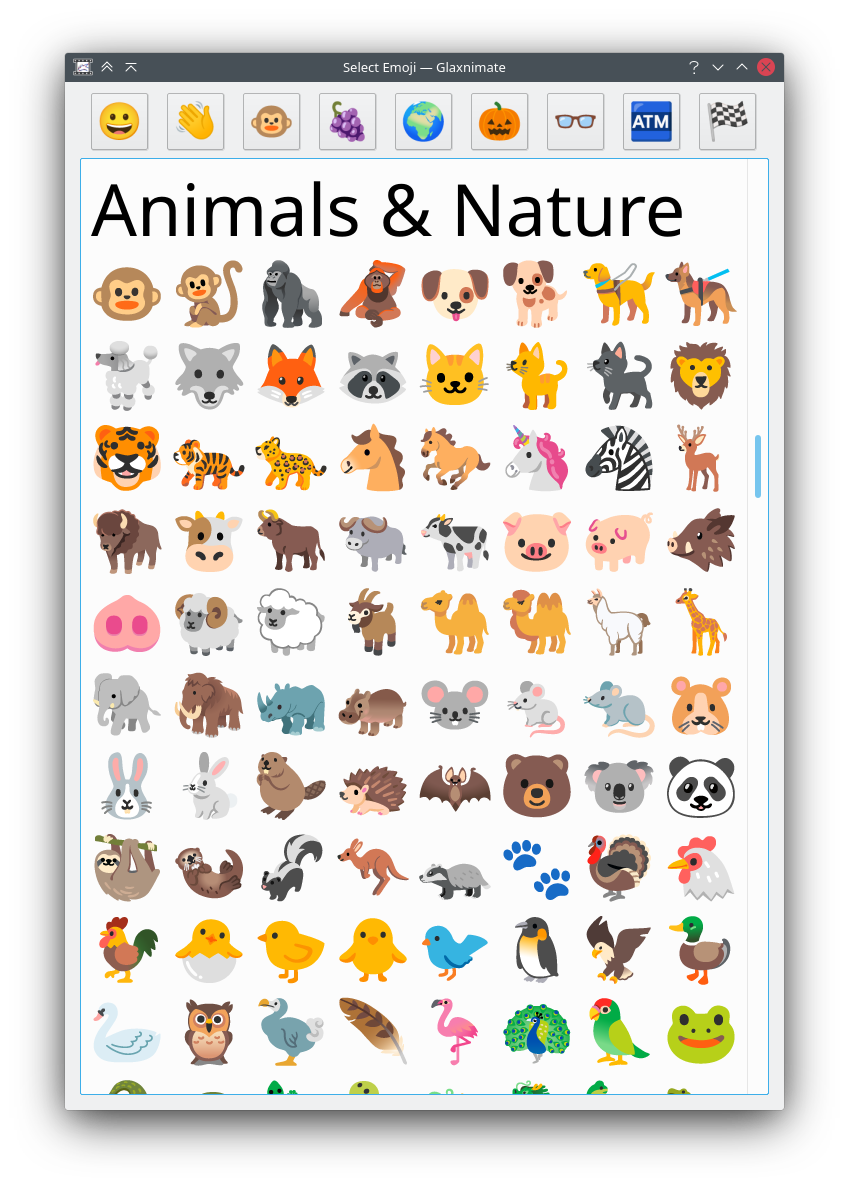
Emoji Select Dialog
This dialog shows you all the emoji for the set you have selected.
At the top you have buttons to jump to a specific emoji category.
Clicking on an emoji will import it in you animation as a precomposition:

Imported emoji